A Little Slice of a Big Spiral
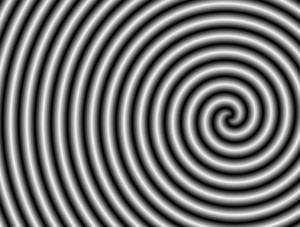
This Illustrator file was too big and complex to be rendered into a high-resolution raster by either Illustrator or Photoshop. Here GIMP’s Ghostscript interpreter was brought in for the job, which it did handily in less than an hour. Illustrator flat-out refused to export the 500,000-endpoint vector file at the resolution I needed, and Photoshop kept one of my eight processor cores working at 100% for more than two days before I gave up and gave Photoshop the ol’ «Force Quit».
Now what I have is a three-and-a-half gigabyte grayscale spiral. You know that fancy 12-megapixel camera you’ve been wanting to buy? I could fit almost 300 of the images it makes into this one file. Are we having fun yet?
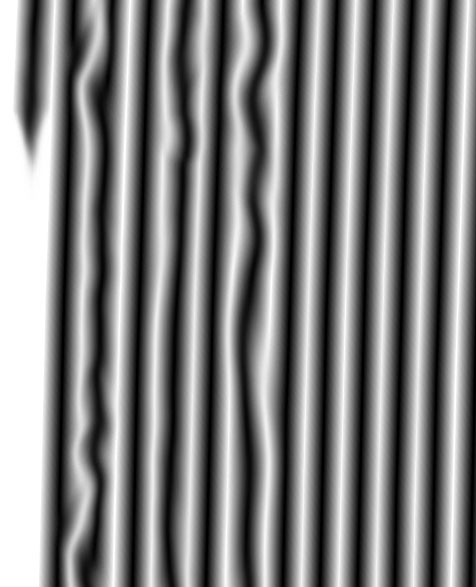
This is not yet satisfactory. Actually, it’s just the beginning of the process. This is where the real work begins. I go into the file in Photoshop with my Wacom tablet, select a distortion tool, and draw over the lines. As my hand follows the lines, my hand moves creating variations as though I had drawn the lines myself. In a sense I am drawing the lines, using my pattern as a template. The template moves and creates a ragged, irregular pattern that follows closely the original spiral.
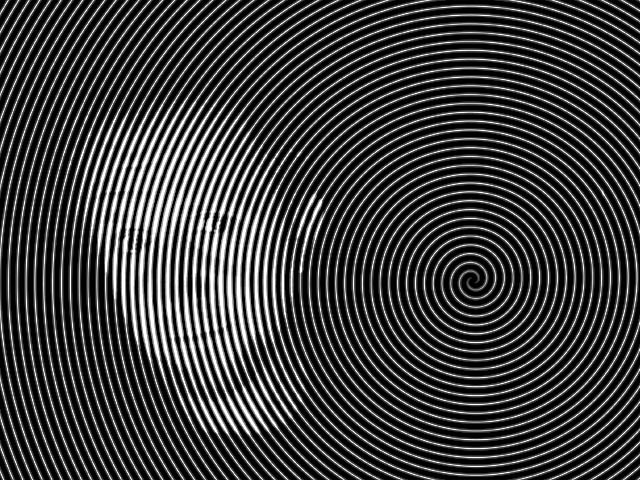
This pattern is what I use to turn images into lines. The computer uses a threshold function to take an image and this pattern, multiply their values, and give me either total black or total white. The end result of using a pattern like mine where the values shift gradually from dark to light and back is that where the image I’m working with is dark, I end up with thicker lines. Where the image is light, I have thinner lines. And that makes a pattern of lines that creates an illusion of a gray tone.
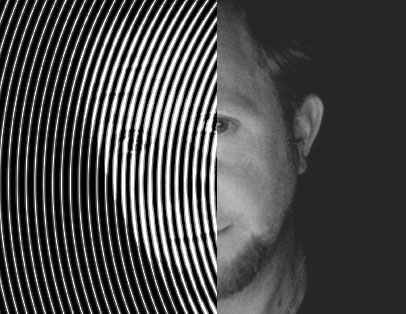
 In order to demonstrate what I can do with this pattern, I’ve used a photograph of myself. In this example, I’ve only overlain the pattern on the left side of the image, leaving the right side as it was originally. If my explanation was confusing, the example should make it intuitively clear what has happened, even if the why or how remains in doubt. The lines in the spiral pattern grow thicker to represent dark areas of the photo, and become thin for the light areas.
This is basically how the files for my prints are made. I work this process once for each of the colors in the palette I’m using, then put all the colors together and have what still appears to be a photograph, but all made of irregular, hand-drawn lines. The final prints are exposed on metallic photographic paper with a microprocessor-controlled laser.
The purpose of it all is to bring the human hand into the process of making photographic prints. The images are all line and texture up close, but if you step back a few feet the lines disappear and the image comes out. Also, interference patterns become very visible where the patterns lay over one another, which is all over a piece where the colors have been split apart photographically. The image comes alive in a way that the original photograph could not, and which a purely hand-rendered illustration would not.


Great job on the spiral halftone!
Great job on the spiral halftone! I’m probably one of the few people who can truly appreciate the difficulty and the coolness of the graphic you created.
http://www.deviantart.com/download/65330124/Reagan_Tear_down_this_wall_by_imageiteverywhere.gif
http://boards.screenprintersopen.com/index.php?action=dlattach;topic=1025.0;attach=319;image
Your sketches are a fine example of a type of halftone i’d like to write software to create. I’ve imagined that a photo could be opened in photoshop and almost like a coloring book, areas of the image could be marked to use line halftones, hatch, spiral, text or any definable shape. Todays computers allow such crazy processing to be easily possible. Color variations could even be converted to texture variations.
fred
i think a photo like this one
i think a photo like this one the first one can make me fainted if i look at for long ..